Showing posts with label tutorial. Show all posts

Sunday, March 9, 2014

Ageyo sal x natural puppy eyes girly look

Hello everyone!


I saw this eyemake tutorial awhile back on tumblr so I thought I'll share it with you all^^

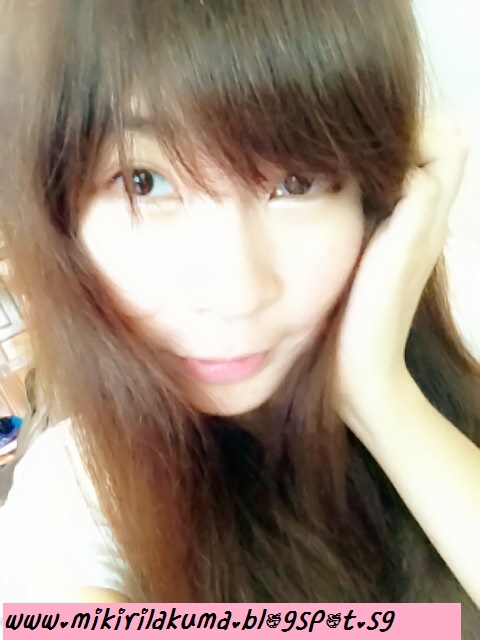
ふつくりキラキラ "sparklng tearbag"

also known as the puppy eyes look~


*POINT*

Eyemake

♥Green circle lenses
♥For the ageyo sal look-
♥Use a white & brown eyeshadow to highlight and shade your eye pouch~ 
♥Upper eyelids- light pink white eyeshadow x one dark brown (blend)
♥Dark Pink x choco brown eyeshadow at the bottom ends of your eyes(draw them curved to give the illusion of bigger rounder eyes to give out the innocent & moe eyes feel)
♥Draw a thin line using the sharpest eyeliner
♥Brighten inner corners of eyes to make your eyes look brighter.
♥For eyelashes, focus on those that create roundness to your eyes, comb bottom lashes with a mascara 


Face make

♥Contour nose (as straight as possible) use brown to shade the bottom part to create a cute button like nose.
♥Highlight features
♥Contour sides of face with shading powder to give a v shape look
♥Blusher at the top corners of your cheeks to create a dolly look
♥Baby pink lipgloss (Melliesh series by Yui can create this look)


Just my own observations, they are by no means fullly accurate to achieve the look x3


x

Miki

Monday, March 25, 2013

★Easy Eyemake Tutorial(´ω`★)♥

Hello~!ヽ(*・ω・)ノ


かんたんの eyemake! (Easy eyemake)
How to create brighter and bigger eyes with a natural look~!!

This will take less than 5 minutes hehe. Knowing how lazy I am...xD


What you will need^^

  1. Brown eyeshadow(Darkest brown) I use KATE palette
  2. White eyeshadow from KATE palette
  3. White eyeliner from Majolica.

*I dont put mascara cause I don't like clumping my lashes) It's optional though.
After applying foundation, 

  1. Pick (1) and use it on the outer corners of your eyes(at the ends) ends 1/3 of your waterline.
  2. Pick (2) and highlight inner corners of your eyes and line front 2/3 of your waterline.
  3. Pick (3) to brighten your eyes even more and apply it at the inner corners and on front  1/3 of your waterline.


And.. youre done! ^^vv
I didnt  put eyeshadow on my top lids cause my fringe was covering it. xD


Pictures:3


zooming in~★(it's not obvious cause of the bright lighting^^;;;)


hoped it was useful!♥ ;D


x


Miki

Tuesday, March 12, 2013

How to take purikura。◕‿◕。^_^

I posted this on cuteblog btw:3


Hello everyone~! Miki desu~(*^▽^)/


I'm here to share about Purikura. In Singapore, we often refer to it as neoprints^^ Often, in Japan they are referred as Print clubs and are super popular among high school girls. Popteen models like Kumicky, Hikari, Mizukitty have endorsed these machines and they are very popular in Japan because of their kawaii factor.☆ Not only that, they provide beautifying functions that include- slimming your face,lengthening your legs, eye enlargement etc~!


interior of a neoprint shop w/ rilakkuma^^ so pink! >.<


I know for most of you , taking purikura is quite stressful because of how fast the whole process is *_*


It takes around 3-5 minutes to take one and the phototaking is only 2 mins! so it means 6 shots in 2 mins!


Here are some helpful tips i hope will help you guys to make the experience more fun~! hehehe.


How to take purikura 101 by Miki(*≧▽≦)


1. Exchange your coins into Japanese yen.Some machines accept singapore dollars but some needs to be changed to japanese yen at the counter. (you dont want to jam the machines)


2. Safety tip* always keep your belongings close to you and out of the picture.


Clothing tip* Dont wear clothes similar to the green background colour or else the background will be printed on you >W<


3. Slot in the coins and start selecting the functions! *Note: they have only 10s for each section so be quick! Or else the machine will choose random backgrounds for you.


Beauty Tip* For girls with boyfriends, select no enlargement to the eye. Big eyes look strange on guys.O_O


4.Start posing~! often, we dont know what to pose so you can just follow the sample picture given on the screen^^


5.After that, move over to the decoration booth and your pictures will appear after a while (1 minute) If you dont see them, its probably on the other side:3


6. Select the size of your photos~! select the BIG function as recommended.Start decorating:)


7. Click end when you finish and wait for the printout


8. You're done~!♪\(⌒▽⌒)/


I hope this has been useful^^ Images are from tumblr.


x


Miki♥